How to Reset the Nest Camera?
You can fix a lot of problems with your Nest camera and get it back to its original settings by resetting it.
Make sure your camera is turned on and linked to the internet before anything else.
Find the reset button on your camera; depending on the model, it's usually on the bottom or rear.
Press and hold the reset button using a paperclip or other similar implement.
For the majority of Nest cameras, you must hold down the button for roughly ten seconds.
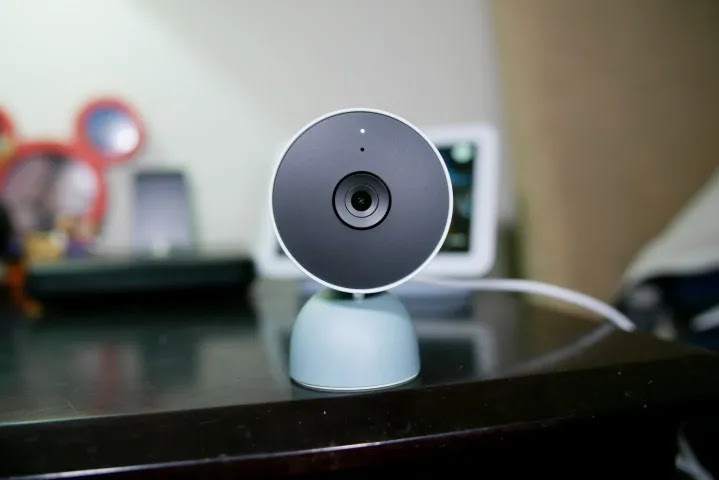
The camera's light ring will start to blink or change color to show that the reset procedure has started.
When the blue light ring begins to blink, indicating that the camera is resetting, release the button. It will require several minutes for the camera to finish the reset.
The camera's light will turn solid white or revert to its initial state after the reset is complete, signaling that it is prepared for setup.
Launch the Google Home app on your tablet or smartphone.
Follow the same steps as when you installed the camera to complete the setup, making sure you connect it to both your Google account and Wi-Fi network.
Make sure your app and camera firmware are updated, and refer to Nest's help resources for further troubleshooting instructions if you experience problems throughout the reset or setup process.
Resetting your Nest camera can help you fix connectivity problems, go back to the original configuration, and get better performance.
Visit our website for more details on reset Nest camera.


Comments
Post a Comment